Step 3 - Configure Monetization Policy
Enterprise Feature
Monetization is available as an add-on as part of an enterprise plan. If you would like to purchase this feature, please contact us at sales@zuplo.com or reach out to your account manager.
Most enterprise features can be used in a trial mode for a limited time. Feel free to use enterprise features for development and testing purposes.
In the previous steps, you learned how to set up Stripe and configure your Developer Portal for monetization. In this step, you will configure your Zuplo API to ensure that users are allowed to use your API according to the plan they subscribe to.
We will configure this using Zuplo's API Key Authentication Policy and the Monetization Inbound Policy.
1/ Add API Key Authentication
To identify customers calling your API, you'll add the API Key Authentication Policy. This policy validates the API Key sent to your API and identifies the user to associate them with the plan to which they have subscribed.
For a full tutorial on the API Key Auth Policy see the Getting Started guide.
-
Open the Code section of the Zuplo Portal and select your
routes.oas.jsonfile. -
Open the route you want to add monetization to and click Policies, then click + Add Policy.
-
Type
API Keyin the search and select the API Key Authentication policy. -
Leave the default configuration and click OK.
Now, all requests to this route will require an API Key to successfully call the endpoint.
2/ Add the Monetization Policy
With the user identified via the API Key Authentication policy, next you will enforce that they're calling the API within the limits of their plan. The Monetization Inbound Policy is what enables us to do that.
-
Open the Policies section of the same route and click Add Policy.
-
Type
Monetizationin the search and select Monetization.
The configuration of this policy is where you specify the meters that are required to call this API. For now, leave the configuration as is, you can always change it later.
- Be sure to save your changes.

3/ Test the API
With both policies added to the route, you can now call the API with your subscription's API Key.
-
Return to your Developer Portal and open the API Reference section.
-
Find the route you added the policies to in the previous steps.
-
Above the code sample, next to the route, click the Test button. This will open up the API Playground that you can use to call the API.
The API Key for your subscription will be pre-populated in the Authorization
header.
- Edit the API Request if needed and click Test. You should see a successful response. Click Test a few more times.

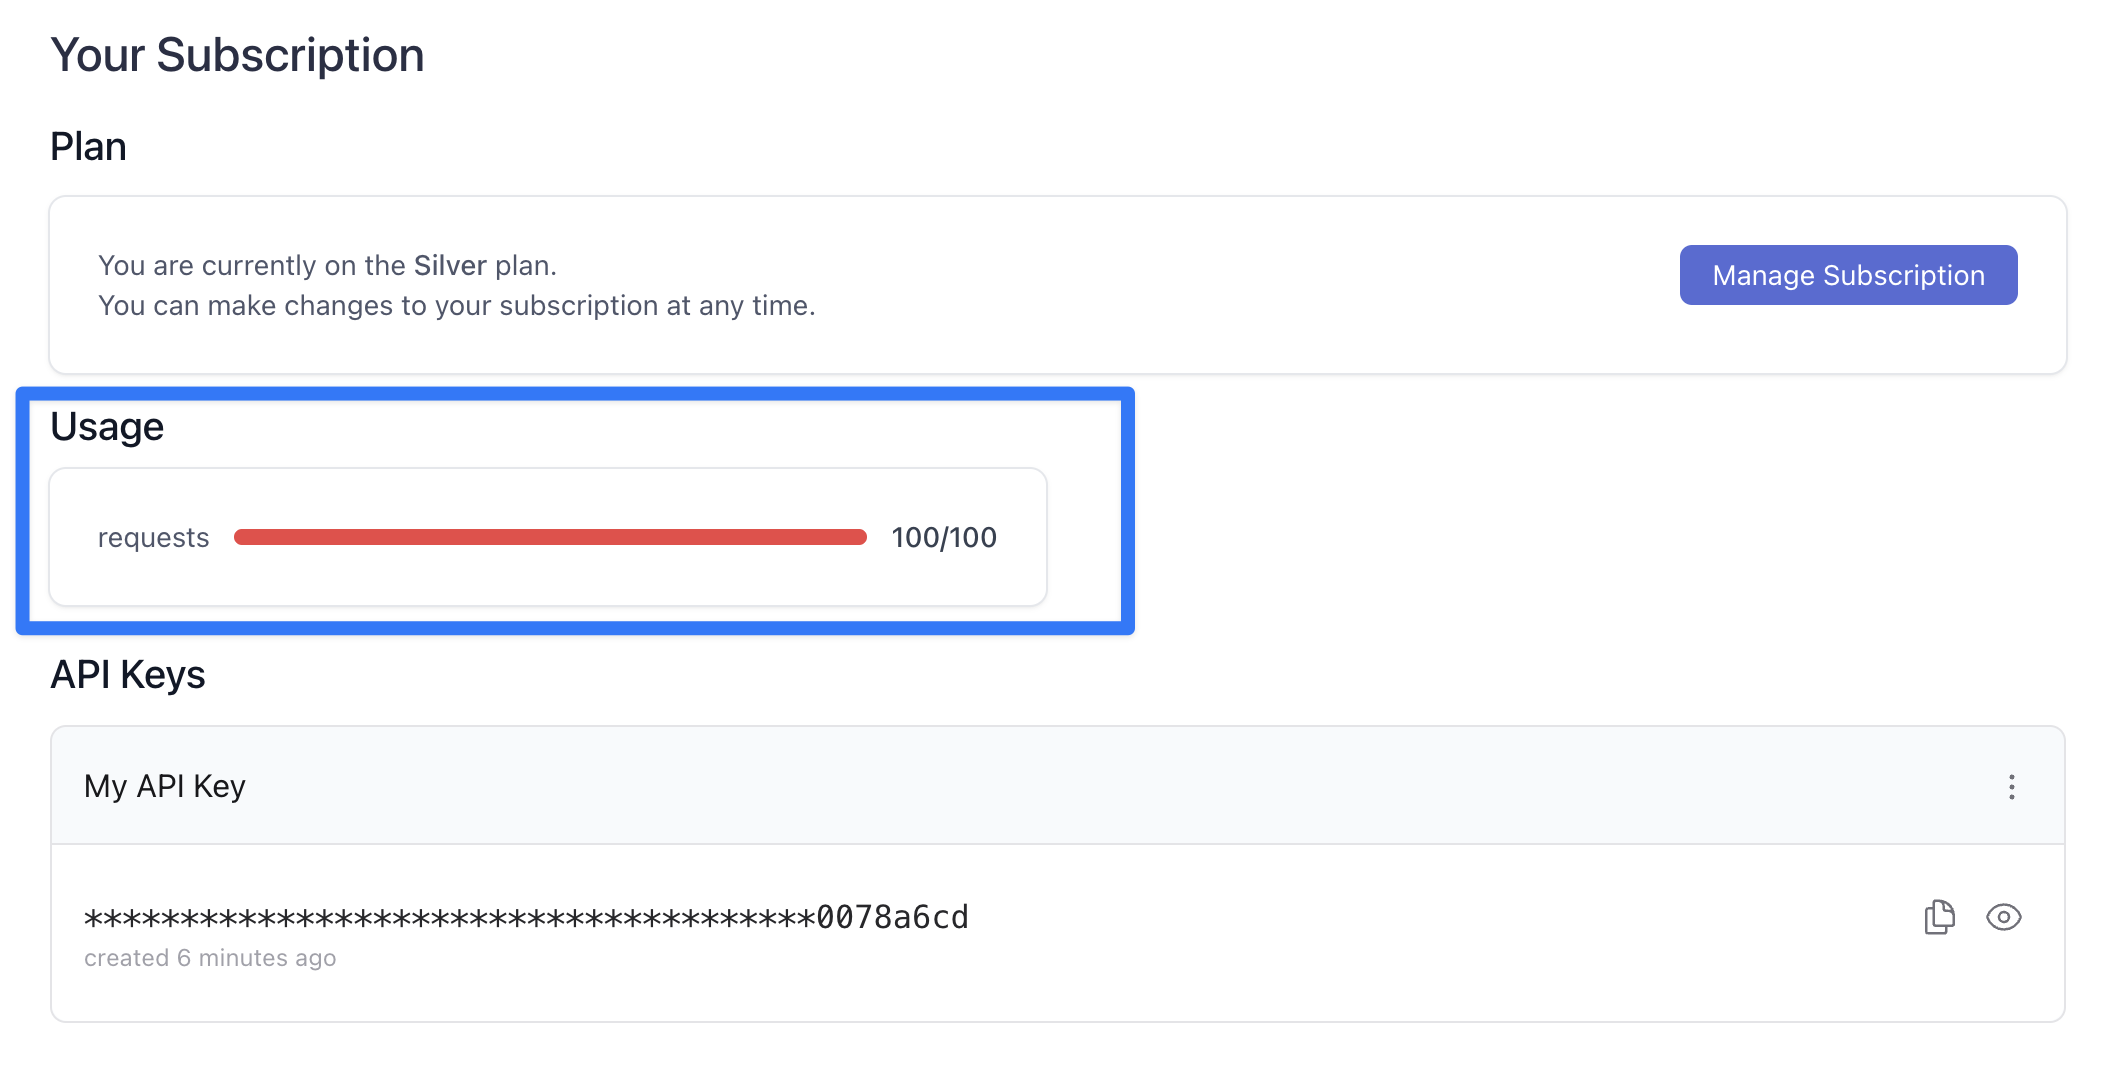
- Close the API Playground and click the Subscription link in the Developer Portal header. Notice the Usage section shows that you have consumed some of your request quota from your plan.

- Return to the API Playground and click Test until you receive an error response telling you that you have exhausted your quota.
If you set a large number in the Max Value of your request quota in the earlier steps, this is going to take a while.
Congratulations, you are now ready to monetize your API!